I was setting up my new laptop the other day and forget how to install the nerd-fonts. Without nerd-fonts all the icons won’t show. The install page of lazyvim didn’t show how to install the optional fonts. But I would argue that the nerd-font is optional without fonts it hard to navigate in the menu. So here is a quick guide of how to install the font.
Installing nerd-font on linux
There are different variant of nerd-font package to install each contains different amount types of fonts. We are installing the 3270 nerd font package.(preview)
Installing for Arch linux:
sudo pacman -S ttf-3270-nerd
Installing for Debian/Ubuntu:
sudo apt install tff-3270-nerd
After installing you might want to reboot but it’s not normally necessary.
If you ssh to a server using lazyvim you only need to install the font on the client side no need to install the font in the server.
Installing nerd-font on Windows
Installing on Windows is much more complicated but still easy.
- Download the 3270 Nerd Font from the nerd-fonts website
- In windows 11 you can install the font by dragging the file in
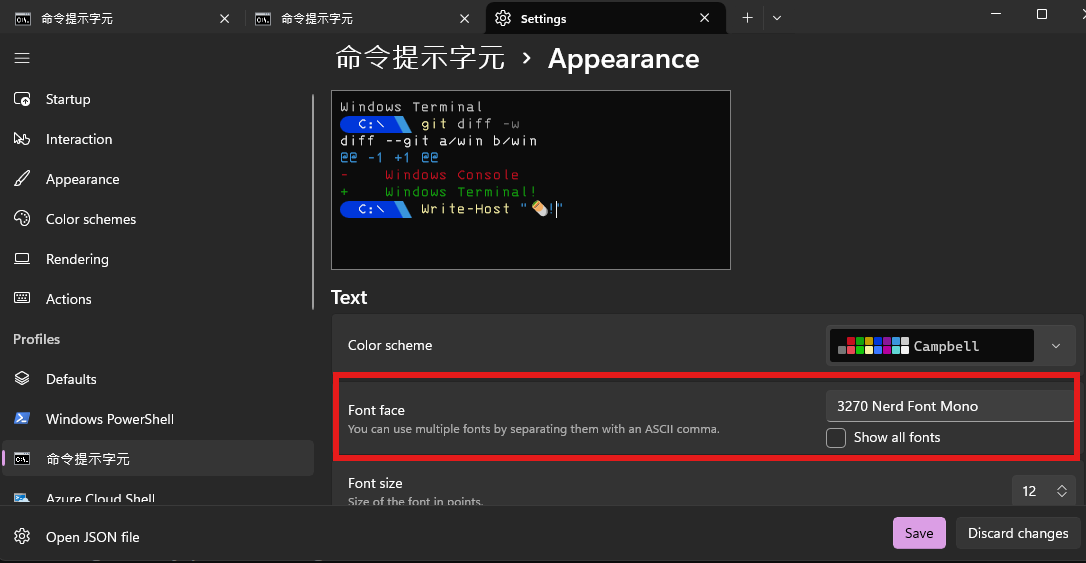
Settings > Personalization > Fonts. - If you are using using the newer version of the windows terminal you should be able to select the newly installed font under
Settings > Profiles > Terminal > Appearance > Font face